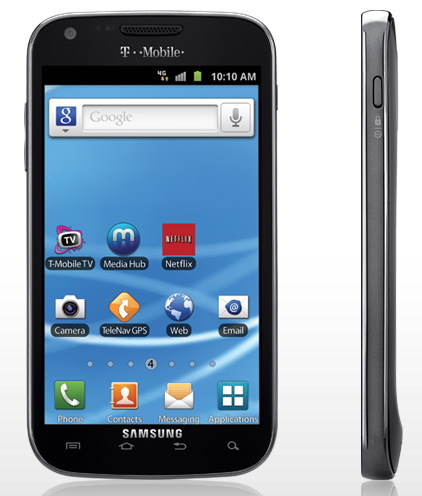
We know that Samsung is rolling out Ice Cream Sandwich Updates to Galaxy S2 devices all over the world. However, the updates are being rolled out based on location starting from Europe where the official XXLPQ was released and later developers had ported it to the international Galaxy S2 variant. SkyRocket was released for AT&T Galaxy S2 i777 but we did not write about it as there was yet another official leak for AT&T Galaxy S2 which is a stable one. The same SkyRocket has been ported to T-Mobile Galaxy S2 SGH-T989 by XDA member Racing19969. Please note that this ROM can be applied only on T-Mobile Galaxy S2 and not on any other variant.
Read on to know how to install official ICS on T-Mobile Galaxy S2. Make sure you have proper backup before you proceed!
Issues:Auto rotate not working correctly.
Shutdown not working properly.
How to Fix: To fix auto rotate, just disable it in settings and to shut down, remove battery or use the adb command “adb reboot”.
Prerequisites
- Backup all your applications using ASTRO File Manager . If you have rooted your Samsung Galaxy S2 , you can use Titanium Backup for the same.
- Back up all contacts to SD Card.
- Disable Anti virus and other security apps
- Enable USB Debugging by Settings>Applications>Development and ensure that USB Debugging is checked.
After you back up everything, you can proceed with the steps to install this firmware.
Disclaimer: BlogoTech is not responsible for any damage that might be caused to your device during this process though the possibility of any damage is negligible. Try this at your own risk.
Download ROM zip file from Mirror 1 | Mirror 2 | Mirror 3
Steps to Install SkyRocket ICS
- Copy the downloaded ROM zip file to the root of your SD card. Do not copy it within any folder else it would be difficult to locate it in the recovery mode.
- Boot into recovery mode. To do this, press the Volume Up + Volume Down + Power button.
- Perform a nandroid backup. To do this, choose “Backup and restore”>”nandroid backup”>”perform backup”.
- Go back and select Wipe>Wipe all data/factory reset.
- Again select Wipe dalvik cache.
- Go back and select “Install zip from SD card”>”Choose zip from SD card” and select the ROM zip file you moved to the root of your SD card in Step 1. Confirm it in the next screen and flash the ROM.
- Go back and select “Reboot system now”.
In this way you can easily install Ice Cream Sandwich. If you face any issues, feel free to comment below or refer XDA forum thread.
